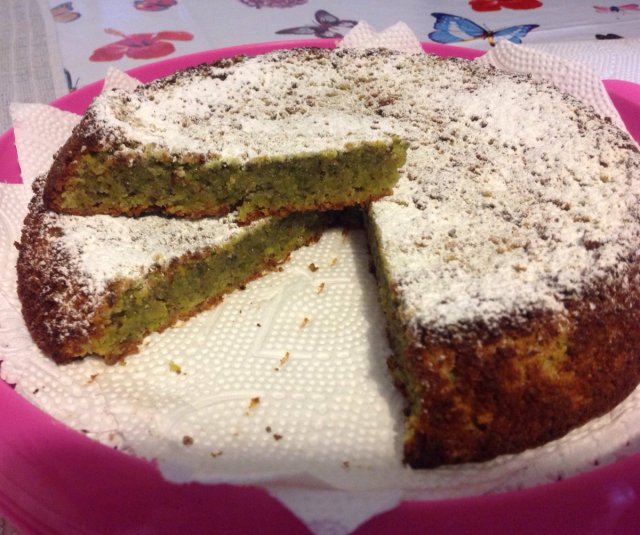
Ho voluto provare anche questa versione, devo dire che ha riscosso successo.
Quindi a parte i 2 ingredienti principali, il procedimento per prepararla sarà come per la caprese classica.
INGREDIENTI:
Quantità per un stampo da pastiera diametro largo 20 cm ( che poi va stringendosi sul fondo) – altezza 4 cm oppure uno stampo da 18 cm classico a cerniera. Potete raddoppiare le dosi per una torta più grande.
- 185 gr di pistacchi
- 125 gr di cioccolato bianco di ottima qualità
- 125 gr di burro
- 3 uova medie
- 125 gr di zucchero semolato
- zucchero a velo per decorare
PREPARAZIONE:
Sciogliete a bagnomaria il cioccolato spezzettato insieme al burro. Ponete su fuoco lento e girate costantemente fino ad ottenere un composto liscio e privo di pezzettini ( potete farlo anche nel microonde, non più di 25/30 secondi per volta e mescolando per amalgamare gli ingredienti ). Ponete da parte il composto di cioccolato.
Separate i tuorli dagli albumi. Montate per qualche minuto i tuorli con 80 gr di zucchero, fino ad ottenere un composto spumoso e liscio. Aggiungete al composto di tuorli montati il cioccolato fuso. Aiutatevi con le fruste elettriche per montare il composto e renderlo liscio e vellutato.
Aggiungete i pistacchi ridotti in polvere ( se anche restano leggermente grossolani, non importa ). Questa volta amalgamate il composto con una spatola fino a quando si presenterà compatto e denso.
Montate gli albumi a neve con il resto dello zucchero. Incorporate gli albumi con la spatola dal basso verso l’alto, al resto degli ingredienti, un po’ per volta, cercando di non smontare il composto. Vedrete che l’impasto finale assumerà un aspetto vellutato e gonfio.
Versate il composto della Torta Caprese e livellate il più possibile la superficie.
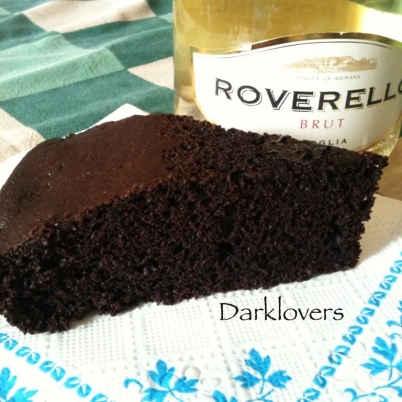
La Cottura della Torta Caprese contribuisce a rendere il dolce umido dentro e croccante fuori.
Dunque seguite questi trucchi per non sbagliare:
1. Utilizzate forno statico (il forno ventilato secca e asciuga particolarmente il cuore delle torte!)
2. Preriscaldate il forno a 180° prima di inserire la torta! che risulti quindi ben caldo!
3. Cuocere nella parte media del forno per circa 30 – 35 minuti .
I tempi di cottura possono variare da forno a forno, ma ricordatevi che questa torta dev’essere umida dentro! Quindi di norma per uno stampo da 18 cm il tempo non supera mai i 35 – 38 minuti! Altrimenti avrete una caprese morbida ma non tartufata come deve essere!
Quindi dopo 30 minuti, fate la prova stecchino, si sarà già formata la crosticina e il cuore deve risultare umido. Non eccessivamente bagnato ma umido!!
Sfornate e lasciate raffreddare in teglia per almeno 30 – 40 minuti!
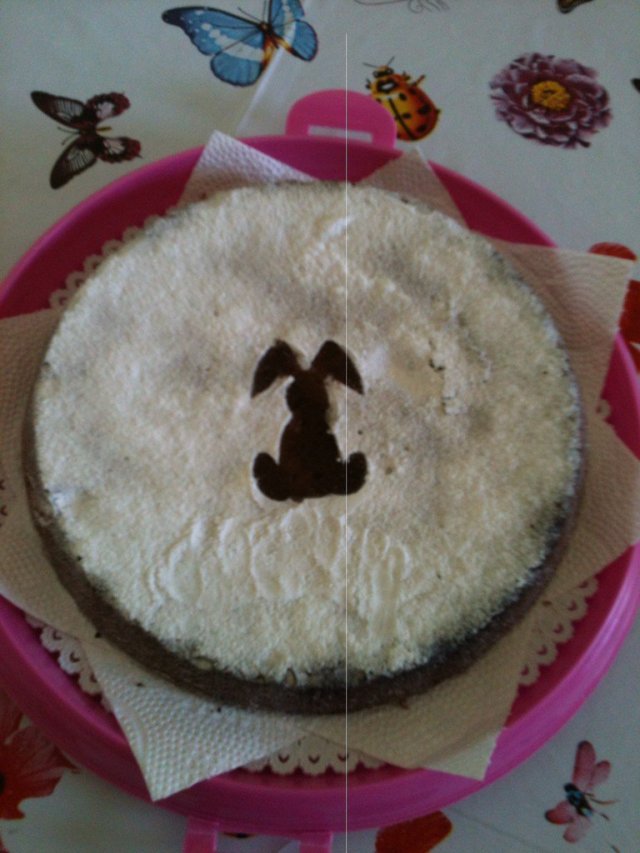
Lasciate completamente raffreddare! Decorate la Caprese al cioccolato con lo zucchero a velo quando sarà ben fredda! Se aggiungete lo zucchero quando è ancora calda, verrà assorbito dalla superficie!
_________________________________________________________
I also wanted to try this version, I must say it has been successful.
So apart from the 2 main ingredients, the process for preparing it will be as for classical caprese.
INGREDIENTS:
- 185grams pistachios
- 125grams (4.4 oz) good quality white chocolate
- 125grams (4.4 oz or 1 stick plus 1 tablespoon) unsalted butter, chopped
- 125grams (4.4 oz or 1/2 cup) sugar
- 3 eggs
- Powdered sugar for dusting
PREPARATION:
Grease and line a 18/20 cm or 8 inch round cake tin with baking paper ( can use a springform tin or one with a removable base for this delicate cake) and preheat oven to 180ºC or 356ºF.
If using whole blanched almonds, blitz them to a very fine, sandy texture in a food processor. Set aside.
Place the chocolate, broken up, in a metal or glass bowl set over a bain marie (double broiler, or a pot of simmering water). When melted, remove the bowl from the heat and add the butter, stirring with a wooden spoon or silicon spatula to help it melt. Then add the sugar and the pistachios meal.
Once the mixture is no longer hot, add the egg yolks and stir to combine with a wooden spoon. If adding any further ingredients (orange zest, rum, etc), stir them in now.
In a separate bowl, whip the egg whites with beaters to soft, fluffy peaks. Fold the whites gently through the chocolate and pistachios batter.
Pour the batter into the cake tin, smooth over the top and bake.
Cooking the Caprese Cake helps to make the sweet damp inside and crunchy out.
So follow these tricks not to miss:
1. Use a static oven (the ventilated oven dry and especially the heart of the cakes!)
2. Preheat the oven at 180 °C before inserting the cake! Which is so hot!
3. Cook in the middle part of the oven for about 30 to 35 minutes.
Cooking times may vary from oven to oven, but remember that this cake must be moist inside! So usually for a 18 cm mold the time never exceeds 35 to 38 minutes! Otherwise you will have a soft caprese but not truffle as it should be!
Then, after 30 minutes, try the stitch, the crust has already been formed and the heart must be damp. Not too wet but wet!
Get out of the oven and let cool in a pan for at least 30 – 40 minutes!
Let it cool completely! Decorate the Caprese with the icing sugar when it is cold. If you add sugar when it is still hot, it will be absorbed by the surface!